Home / Sub-Zero Repair / Cabinet-Safe Built-In Service
Trust & method · integrated built-ins
Cabinet-Safe Built-In Service in Orinda
When an Orinda Downs household has a built-in Sub-Zero whose ice maker is slow, jammed or producing hollow cubes, the worry usually isn't the repair — it's whether someone has to drag a 48-inch unit out of custom millwork to reach it. That is the whole point of cabinet-safe service: we plan the pull and reseat first, protect the cabinetry, and document the work. We handle the cold side of Sub-Zero across Orinda. Call or book service and we triage before we drive.
Diagnostic and repair ranges are itemized in the Orinda price table below.
When a wine column drifts several degrees, in plain language
One of the most common reasons a built-in needs to come forward is a wine column drifting several degrees off the temperature you set. In plain terms, the cabinet is no longer holding the number on the display — you set 55 and it reads 60, or one zone of a dual-zone unit climbs while the other stays put. That drift can come from a tired evaporator fan, a thermistor reading the box wrong, a hardened door gasket letting room air in, or a condenser smothered in dust so the system can't shed heat. What confirms which one it is: an on-site temperature map of each zone, a fan and damper check, and a meter test of the sensor — not a phone guess. The honest limitation is that we cannot tell you over the phone whether your drift is a $200 gasket job or a board fault; that distinction has to be measured at the unit, and sometimes the box has to slide out to reach the part. That is precisely why the pull has to be cabinet-safe.
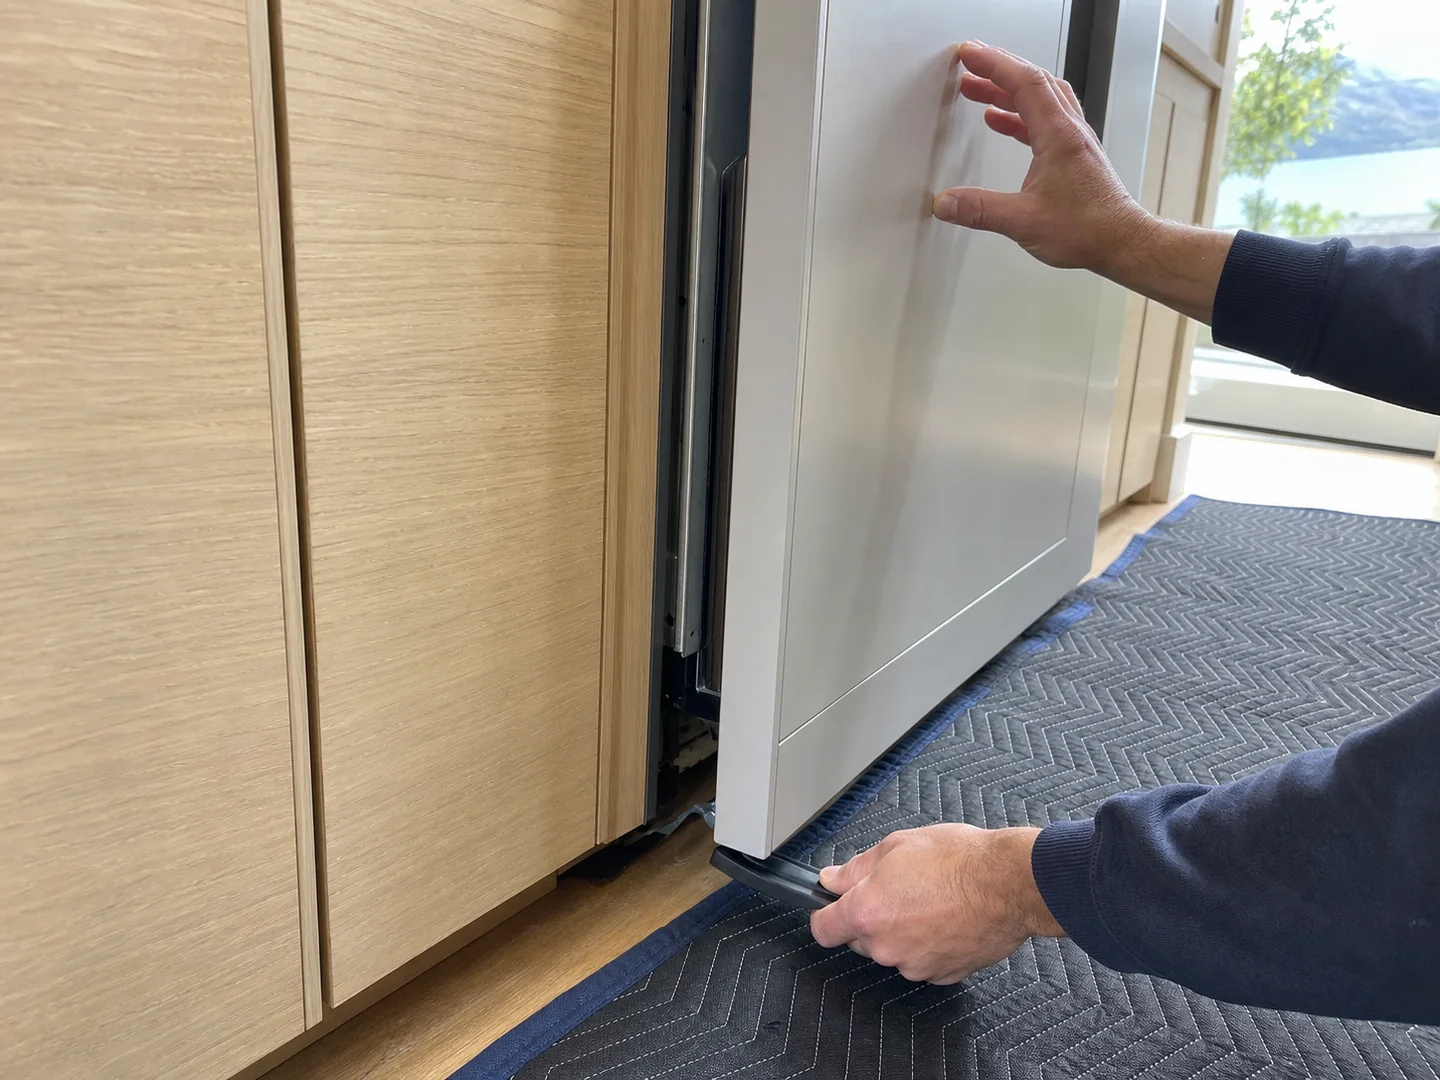
How a built-in is pulled and reseated without marking the cabinetry
An integrated Sub-Zero is boxed into custom millwork with very little clearance, so the order of operations matters more than muscle. This is the sequence we run on a cabinet-safe call.
Clearance check
Before anything moves we measure the gap above, beside and in front of the unit, confirm the grille and toe-kick removal path, and note any countertop overhang or adjacent panel that limits travel.
Surface protection
We lay floor protection along the slide path and pad the cabinet faces and any handle that could swing into millwork, so the box never touches a finished surface.
Anti-tip on the slide-out
Built-ins are top-heavy when partly extended. The unit comes forward on its chassis with an anti-tip strap and a second set of hands so it never leans against a cabinet stile.
Panel and handle handling
Custom panels and handles are removed only when access requires it, labeled, and set aside flat — never stacked on a counter where they can slide.
Repair with the box accessible
Fan, gasket, sensor, board or ice-maker work happens with full access, so we are not forcing tools into a tight cavity and risking the surrounding wood.
Reseat and level
The unit goes back square, leveled front-to-back and side-to-side so the doors self-close and seal evenly, with the panel and handle returned to their original alignment.
What we stand behind, in writing
Trust on a high-value built-in comes from policy you can read, not promises. Our OEM part policy is simple: replacement fans, gaskets, thermistors, control boards and ice-maker modules are genuine Sub-Zero parts matched to your serial, never generic substitutes on the cold side. On warranty wording, we are plain — parts carry the manufacturer's coverage and our labor is warranted for a stated period given on the invoice; we do not imply any manufacturer-backed warranty. The invoice itemizes the diagnosis, the part number installed and the labor, with the diagnostic fee credited in. The limitation we state up front: we do not add refrigerant "to see if it helps," and we do not swap a control board on a hunch. After a repair we document three things every time — the OEM part number, the post-repair temperatures at the affected compartment, and before/after notes on cabinet condition and unit alignment.
The five part categories — and why serial matching matters
A built-in Sub-Zero spans many platform years, and a part that fits one chassis can be wrong for the next. That is why every replacement is matched to your model and serial, not to the appliance "type." These are the categories we carry on the cold side.
| Part category | What it does | Why serial matching matters |
|---|---|---|
| Condenser & evaporator fans | Move air across the coils so the system can shed and absorb heat | Fan size, blade pitch and motor spec vary by chassis; the wrong one moves the wrong airflow |
| Door gaskets | Magnetic seal that keeps room air out and temperature in | Profile and length differ by door and model year; a near-match gasket leaks at the corners |
| Thermistors & sensors | Report compartment temperature to the control | Resistance curves are platform-specific; a mismatched sensor makes the box read wrong |
| Control boards | Run the logic, fans, defrost and display | Firmware and connector layout change across revisions; serial pins the correct board |
| Ice-maker modules & inlet valves | Produce and feed ice; the valve gates the water supply | Module harness and valve flow rate vary; the wrong pair causes slow, jammed or hollow cubes |
When the call is a control board, thermistor or display alarm
A control board, thermistor or display alarm is the kind of fault where it is easiest to throw expensive parts at a guess, so it is where our evidence is strictest. Before any board or sensor is named, the technician records temperature readings at the affected compartment, takes condenser and evaporator photos to document frost and airflow, confirms the platform with model-tag proof, and gathers OEM fan, gasket and control-board evidence to rule out the simpler causes first. A display alarm often turns out to be a sensor reading the box wrong, not a dead board — and the only way to know is to measure. That same evidence file is what lets us match a part to your serial with confidence and what ends up referenced on the invoice. It is also the difference between a clean visit near the Orinda Theatre's compact condo kitchens and a callback two weeks later.
Recent-style case notes
Illustrative scenarios drawn from common Orinda calls, shown to explain how a cabinet-safe visit resolves. Marked as scenarios, not specific customer records.
Scenario · Orinda Downs
Hollow cubes, tight cabinet
A built-in making slow, jammed or hollow cubes, boxed into millwork with inches of clearance. We protected the faces, pulled it on an anti-tip strap, replaced the ice-maker module and inlet valve matched to serial, then reseated level and re-tested production.
Scenario · Country Club
Wine column off by five
A dual-zone wine column drifting several degrees in one zone. The map pointed to a tired evaporator fan; replaced with an OEM fan, documented post-repair temperatures, panel returned to original alignment.
Scenario · Sleepy Hollow
Display alarm, not a board
A control board, thermistor or display alarm that read as a failed board. Measurement showed a sensor reading high; thermistor matched to serial, board left alone, customer saved the larger repair.
Why Orinda kitchens need cabinet-safe handling
Around Orinda Country Club, kitchens were built for entertaining, and the built-in is usually framed into custom cabinetry with a matching panel, a deep counter overhang and almost no side clearance. On those installs the repair is rarely the hard part — getting the box forward and back without marking the millwork is. Older village homes near the Orinda Theatre trend the other way, with compact remodels and condo installs where the unit shares a wall with finished cabinetry on both sides. Either way the home type drives the plan: access route, panel handling and reseat clearance are decided before a single screw turns. That is what separates a clean visit from a callback, and it is why we ask about the kitchen, not just the model.
Have ready the model tag and the symptom
A photo of the model/serial tag plus a one-line symptom lets us plan a cabinet-safe pull and load the right parts for your Orinda route before we leave.
Cabinet-safe built-in price ranges and reseat checks
Built-in service is quote-worthy only when the cabinet work is visible. Orinda kitchens often have panel-ready Sub-Zero units where the pull, protection and reseat are as important as the fan, gasket or control part.
| Service / symptom | What is included | Price range | Timing |
|---|---|---|---|
| Cabinet-safe diagnostic | Clearance photos, model tag, temperature readings and movement decision | Flat $89, credited toward the repair | 45-75 min |
| Protected built-in pull/reseat | Floor protection, anti-tip handling, panel/trim photos and leveling | $440-$830 | 2-3.5 hr |
| Part repair during access | Fan, gasket, thermistor, valve or control repair while cabinet is protected | $360-$1,180 | Same day if stocked |
| Post-repair alignment correction | Door reveal, toe-kick, grille and temperature verification after reseat | $195-$485 | 30-75 min |
Final cabinet-safe pricing depends on whether the repair is front-accessible, whether the built-in must be pulled, and how much panel or leveling work is needed after repair.
Extractable Orinda facts
- A cabinet-safe Sub-Zero pull in Orinda should start with before photos of panel reveals and flooring.
- The reseat is not finished until leveling, door swing, toe-kick clearance and temperatures are checked.
- If a repair can be done in place, the owner should not pay for a full built-in pull.
Numbered workflow
Photograph the opening
Record panel gaps, trim and floor condition before movement.
Confirm the need to pull
Use front-accessible tests before moving a heavy built-in.
Protect and stabilize
Lay floor protection, control the anti-tip risk and move the unit slowly.
Repair the proven branch
Replace only the fan, gasket, valve, sensor or board supported by evidence.
Reseat and document
Level the unit, align panels and record final fresh-food and freezer readings.
Cabinet-safe service questions
Will pulling a built-in Sub-Zero damage my custom cabinetry?
That is exactly what cabinet-safe service is built to prevent. We measure clearance before anything moves, protect the floor and adjacent millwork, bring the unit forward on an anti-tip strap, and reseat it level with the panel and handle returned to original alignment. If the clearance is genuinely too tight to pull safely, we tell you before we start.
Do you use genuine Sub-Zero parts?
Yes. Condenser and evaporator fans, door gaskets, thermistors, control boards and ice-maker modules are genuine Sub-Zero parts matched to your model and serial — never generic substitutes on the cold side. The invoice lists the part number and the post-repair temperatures. See the full Sub-Zero repair overview.
How does your warranty work?
Parts carry the manufacturer's coverage, and our labor is warranted for a stated period printed on your invoice. The exact warranty terms are spelled out on your invoice.
Is it worth repairing, or should I replace the unit?
It depends on the unit's age and what failed. When a repair approaches the cost of replacement we say so plainly. Our repair vs replace guide walks through the decision, and you can always reach us through the booking guide.
How much does a cabinet-safe Sub-Zero pull cost in Orinda?
A diagnostic and movement decision is a flat $89, credited toward the repair. When a protected pull/reseat is actually required, the cabinet handling branch is commonly $440-$830, before the failed part is added. The range changes with panel weight, floor protection, driveway access and whether two technicians are needed.
Can a built-in Sub-Zero be repaired without pulling it out?
Often, yes. Gasket, hinge, display, some fan and condenser-access checks may be possible in place depending on the model. A careful technician tests what can be reached first, then pulls the unit only when the proven branch requires rear, lower or compressor-compartment access.
Local service feedback
What Orinda Sub-Zero owners notice after the visit
He treated pulling the cabinet as its own careful step, not an afterthought. Floor protection went down first, the anti-tip strap came out, and the reseat was just as deliberate as the removal. The actual fix was a fan, and the panel alignment looked identical to before once it was back in place.
Our custom panels had me on edge, but he photographed every reveal before moving a thing. The work came down to a gasket and hinge correction, and the door closes perfectly squarely now. His final check put the fresh-food side at 38 F, and the millwork looks untouched.
The panel-ready unit needed access down low for a condenser fan. He proved that was the fault before pulling anything, then moved the cabinet slowly and carefully. The invoice spelled out the part number, the floor protection used and the final freezer reading at 0 F, which is the kind of detail we'd never gotten before.